Okay, your gauge is different. What's the plan?
Hello, fellow knitter!
We knitters are always on the lookout for new adventures, constantly adding our own creative spin to everything we touch - and I love it!
Lately, some of you have asked how to adjust my patterns designed for aran (medium-weight) yarn to work with lighter options like DK or sport-weight. I take this as a sign that you're growing in your knitting journey because this is definitely not a question beginners usually ask!
How to change a knitting pattern to a new gauge.
While it's a great resource, adjusting gauge isn’t as simple as tweaking numbers or knitting a size up - you also have to consider things like stitch pattern repeats.
But here’s some good news! If your pattern is knit in plain stockinette stitch, adjusting the gauge can be much easier than it seems. Let’s dive into the details and explore how you can make these adjustments yourself.
Hi, gauge!
Gauge /ɡeɪdʒ/ is the number of stitches and rows you get in a specific measurement, typically 10 cm or 4 inches. It’s important because it ensures your finished project will be the right size. If your gauge doesn’t match the pattern, your sweater might turn out too big, too small, or just not the shape you expected.
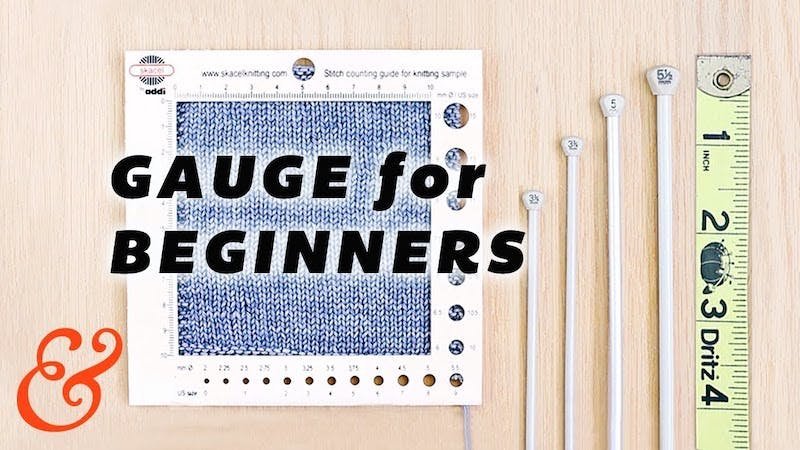
A note for newbies: If you’re still wondering what gauge is and why it seems like everyone is obsessed with it, I’ve got the perfect video for you!
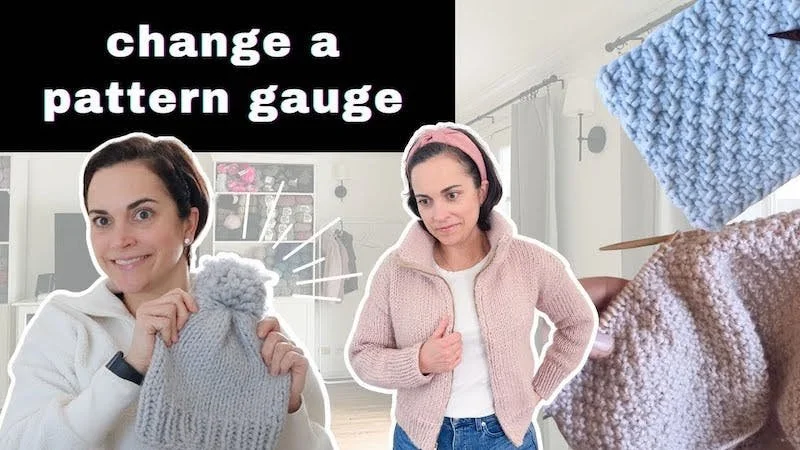
Check out this best-ever video "KNITTING GAUGE for Total Beginners (and Troubleshooting Gauge)".
How to adjust your knitting pattern for a different gauge.
Step 1: Knit a swatch Analyze the pattern!
Before you even start swatching, take a close look at the pattern. Are there any stitch patterns or multiples you need to keep in mind?
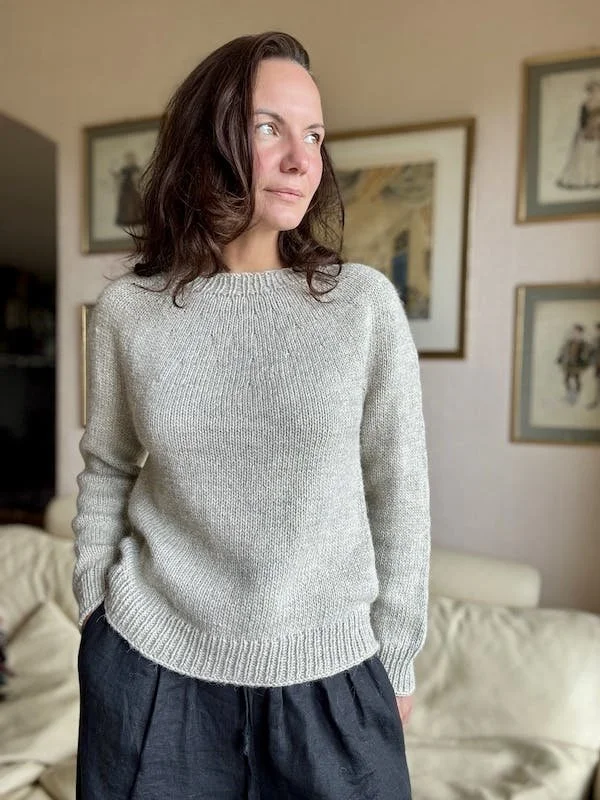
For example, my Mellow Mood sweater might look like it's mostly stockinette, but it also includes a 2x2 rib neckline, 10-stitch-wide raglan lines, and a 4+2 stitch repeat in the stockinette. Without noticing this, you could end up with raglan lines that don’t align with the neck!
If your pattern includes more than just stockinette, it’s worth asking the designer if there are any key stitch multiples you should be aware of before making adjustments.
Step 2: Now knit a swatch.
Knit a swatch with your chosen yarn and needles. Cast on about 30 stitches and knit in stockinette stitch until your piece measures around 12 cm (4.75 inches). This will help you determine your stitch and row gauge - key to getting the right fit!
Step 2: Compare the gauges
Next, compare the pattern’s gauge with your swatch. For example, if the pattern calls for 16 stitches and 22 rows per 10 cm or 4 inches, but your swatch shows 18 stitches and 26 rows, you’ll need to make some adjustments.
Step 3: Do a little math
Now, we’ll do some quick calculations. Let’s say the pattern instructs you to cast on 72 stitches.
Method 1:
Use this formula to adjust the stitch count:
Your gauge ÷ Pattern’s gauge = Adjustment factor
For example:
18 stitches ÷ 16 stitches = 1.12
Then, multiply the pattern’s stitch count by the adjustment factor:
72 stitches x 1.12 = 80 stitches
So instead of casting on 72 stitches, you’ll cast on 80.
Method 2.
Alternatively, find the measurement of one stitch in both the pattern’s gauge and your gauge:
For the pattern’s gauge (16 stitches in 10 cm):
10 ÷ 16 = 0.62 cm (or 0.25 inches) per stitch
For your gauge (18 stitches in 10 cm):
10 ÷ 18 = 0.55 cm (or 0.22 inches) per stitch
Now, let’s say the pattern asks for 72 stitches for the neck. To find the neck circumference:
72 stitches x 0.62 cm = 44.5 cm (or 18 inches)
To get the same circumference with your gauge:
44.5 cm neck circumference ÷ 0.55 cm = 80 stitches
Double-check:
If you cast on 80 stitches with your yarn, and multiplying by 0.55 cm (measurement of one stitch) gives you 44 cm, just as in the pattern.
(or 80 stitches x 0.22 inches = 18 inches)
Voila! You’re ready to cast on!
Don’t forget about row gauge!
Row gauge is important for determining the length of your project. If your row gauge differs from the pattern, you’ll need to adjust the number of rows you knit to achieve the same length.
For instance, if the pattern calls for 48 rows to reach a length of 22 cm, but your row gauge indicates that you’re getting more rows per 10 cm, you’ll need to knit additional rows.
Explanation: If pattern gauge is 22 rows in 10 cm, that means you need to knit 22 rows to get a piece that is 10 cm long. However, if your gauge is 26 rows in 10 cm, you’ll need to knit 4 more rows to reach the same length.
Give it a try!
I encourage you to experiment with different yarns and needle sizes using this technique. It gives you the freedom to customize your knits without being tied to the pattern’s exact gauge. Plus, it’s a fun way to dive into the math behind knitting (don’t worry, it’s not too complicated!) 🤗
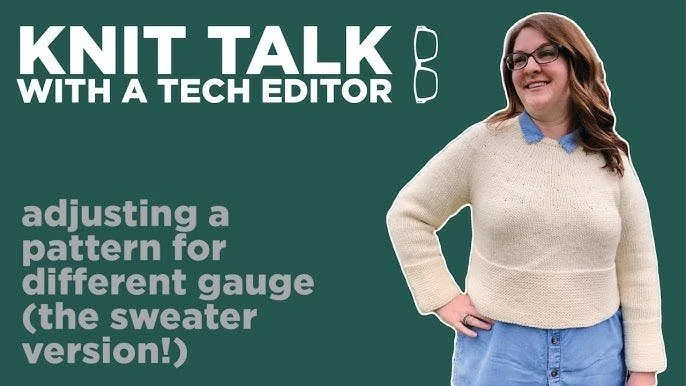
And if you want to level up your gauge and fit adjustments, I highly recommend checking out The Unapologetic Knitter, a tech editor with a great video on "Adjusting a Pattern for Different Gauges".
It’s more advanced, but it’s worth exploring!
🌍 What's new in Esenique world.
I'm so excited to invite you to join the test knit for my upcoming First Star sweater!
This classic circular yoke design offers a unisex fit and is available in a wide range of sizes.
If you haven’t had the chance to knit this type of sweater before, this is the perfect opportunity to give it a try!
Key details:
Test knit deadline: November 1st, 2024.
Yarn: Aran weight (gauge: 16 sts x 22 rows per 10 cm).
Construction: Top-down, seamless, knit in the round.
Special technique: The back neck is shaped with German Short Rows (video provided).
Beginner-friendly.
For all the details, head over to Ravelry where I’ll be running the test knit. It’s a free platform for knitters and crocheters, and creating an account is quick and simple!
❤️ I hope this newsletter has inspired you to try something new.
Warm regards,
Julia Piro
Knitwear Designer & Esenotes Curator
P.S. Follow me on Instagram or Facebook for behind-the-scenes updates!


